How to rip photos and videos through a USB cable?
This is the easiest, but often the best way to send something from the phone to your computer.Usually we don't have to install drivers.Here's how to do it step by step when we have an Android phone and a computer with Windows 10.
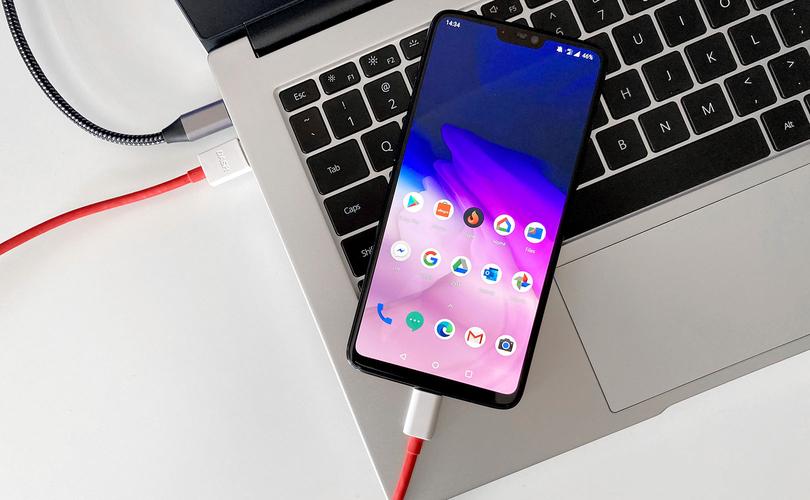
We connect the USB cable to the appropriate port on the computer and on the smartphone.The ideal cable should be included with the phone.If it is not there, you can use another one that matches the equipment.Usually a larger plug (USB type A) fits a desktop or laptop, and smaller (USB type C or microUSB) for smartphone.
After connecting, on a phone with Android, on the drop -down menu, a message should appear: charging the device via USB.
Connect the phone via USB
ATTENTION!Sometimes it may have a different name or not appear at all if the phone had the previously selected option of the default connection in a different mode or has already been connected to a given computer.
Now, we are touching this message and the phone should appear on the phone: USB settings.Here, instead of the option, only charging select files.
Instead of just charging, set files
A window with an icon of our smartphone should appear on the computer after a while.If it does not appear automatically, we enter the file explorer - this computer and here the phone should be visible.
You have access to the phone's memory on your computer
Click it twice, followed by the internal memory of this phone in the form of a disk.We open it.
The phone appears in Windows as a disk
Now the phone's memory content should be displayed in the form of catalogs.
Most often, we play photos and videos from the phone.We will find them in the DCIM catalog.
Choose dcim
After entering DCIM, we open the Camera folder.
Go to Camera
We select the photos that we want to copy and right click on them, and then select the Copy option (optionally you can use the CTRL + C key combination.
Choose photos and copy them
Finally, we create a catalog on the computer to which we want to rip our photos (e.g.."Photos from the phone").We enter it, right -click and select the Paste option (or use the CTRL + V key combination).
Paste photos onto the computer disk
The process of copying (ripping) photos will start.
The procedure of wired photo transmission ends here.
How to copy photos to Google and rip them to your computer?
Photos can also be copied to the computer using an internet disk such as a free Google Drive.Everyone who has an e-mail address on Gmail has access to it.If you use a smartphone with Android, this is a very good chance that you are already logged in to the Google account and you can use Google.

To rip photos and videos on a Google disk, just enter the gallery on the phone (it can be a free photo application) and select the files that you want to send to the disk (holding your finger).
Now click the sharing icon at the top.
Choose photos
The menu will appear at the bottom in which we select Save on the disk.
Share via Google Drive
The application may ask if we want to send in a large size photos or real.This is a bit misleading, because a large size means less photos, and the actual means immeasurable.
ATTENTION!Sending photos in a large size does not use Google's disk space, while in the real size, unfortunately, yes.
choose size
After selecting the size, the disk recording option will appear.Of course, we can immediately save in the main catalog, but it is better to create a special photo folder.
That's why we touch the folder field.
In the upper right corner of the screen, we touch the folder adding icon, enter its name and touch the Create button.
Create a new folder on the disk
Now at the bottom we use the Select button and then save.We wait for the transmission process to end (internet connection is required - preferably fast Wi -Fi).
Choose it and save photos
Now on the computer we open the web browser and enter the address https: // drive.google.Com/Drive/My-Drive.
Here we will find the photos from us from the smartphone.
On the computer, go to Google Drive
We can right -click this folder, select Download and save them to your computer disk.
Download the folder with recorded photos on the computer disk
How to rip photos and videos on a memory card?
Not every smartphone takes place for an additional microSD memory card.However, if your model gives such a possibility, the matter looks very simple.We place a microSD card on the phone (it usually takes up one of the two SIM cards or sometimes has a separate place).
We open a system file manager or download it for free from the store - e.g..Files by Google.
We enter the internal memory - DCIM - Camera, then select photos in it (holding your finger), touch three dots in the upper right corner of the screen and touch the Copy option to.At the end, of course, we choose the microSD memory card.
The memory card can now be connected to the computer by the appropriate reader, and then the files to the disk.
How to rip photos from the phone via Bluetooth to your computer?
Bluetooth sending is wireless, but that doesn't mean it's better than by a cable.Bluetooth is great for sending sound for good wireless headphones, but for sending large files is not well suitable, because it is very slow.Even a few photos can copy a few minutes and the movie much longer.
Therefore, let's use Bluetooth only as a last resort when all other methods are inaccessible (e.g..no cable, microSD card and internet connection).
First, you need to turn on Bluetooth on your smartphone and computer (laptop or some stationary).You should also make sure that the smartphone is set as detectable.The appropriate option should be in the Bluetooth settings on the phone.
Set the phone as visible by Bluetooth
Now we open the Start menu on the computer, enter the settings and click on them.
go to the settings on the computer
In the settings we enter the devices.
enter the devices
Here we enter Bluetooth and other devices, and then click the "+" button Add Bluetooth or other.
Add Bluetooth device
In the new window we choose Bluetooth.
Click Bluetooth
Now the computer will search for a bluetooth device available nearby.If he finds our phone, then click on it.
At this point, the code should appear on the computer and the smartphone.Be sure to make sure that it is the same on both devices.
If the code agrees, click on both devices (Paper).
Choose your phone (the code must be the same on the PC and the phone)
After a successful connection, the phone will appear on the list of connected devices.
The phone is connected by Bluetooth
Now right click on the Bluetooth icon on the Windows 10 bar (on the right, close to the clock) and select the Receive File option.
This is very important, because often without activating the reception function, the computer will not be able to accept files from the phone.
ATTENTION!If there is no Bluetooth icon on the bar, it can be displayed by entering the Bluetooth settings again, scrolling down, clicking on more Bluetooth options and then show the Bluetooth icon in the notification area.
Click PPM Bluetooth icon and Get Receive File
Now on the smartphone we open a photo gallery or any file manager, select the photos that we want to send, touch the Share button and select Bluetooth.
Select photos on your phone and share them via Bluetooth
We indicate our computer on the phone.
indicate your computer
At this point, files should start.Progress will be visible in the form of a belt, for each file separately.
Receive Pliki
At the end there will be a window in which we can indicate the location of the recording of the phone from the phone.
Save files
How to rip photos from the iPhone on a MacBook?Airdrop!
Finally, one more advice for people who recently purchased their first smartphone and laptop from Apple, i.e. iPhone and MacBook.
You are lucky because you can use the method of sending files from a phone to a computer that does not have an equally good counterpart on Windows.It is about the Airdrop function, which quickly detects the macro (and iPhones) on your iPhone and allows you to quickly send even large files, without installing anything and setting up any accounts.
You just select photos on the iPhone, click Share and choose Airdrop.
Select photos and share them via Airdrop
Here your MacBook appears, you touch him and...
indicate your MacBook
That's all!Pictures are copied to your computer.
Pictures are sent to the computer
With this function, you can also import photos or scans of documents directly using a camera on your phone.
You can also import a document scan
There are certain programs and services available on Android and Windows, which simplify the process of copying files wirelessly (e.g..Airdroid), but they require installation of application, using a specific page, setting up additional accounts and are not as intuitive and easy to use as Airdrop from Apple.
We make a scan with an iPhone camera and is sent to a MacBook
Also check:


